
When I go on vacation I can’t help but come home with handfuls of maps, tickets and museum guides. (Oh, and lots of pictures too, but more on that later.) I’m always looking for a way to keep all my vacation stuff together instead of just throwing it in a shoe box. So, I came up with a way to keep my maps, receipts, etc. easily and anywhere I want them in just about any journal. These 4 storage pockets are made from the journal pages themselves and a bit of strategically placed washi tape.

Journal Supplies:
- Journal – I used a notebook by Cavallini. The pages are thick and it comes with an elastic closure to keep everything from exploding out.
- Washi tape – 2-3 different styles (I used Tape Works by SandyLion and tapes from Cavallini)
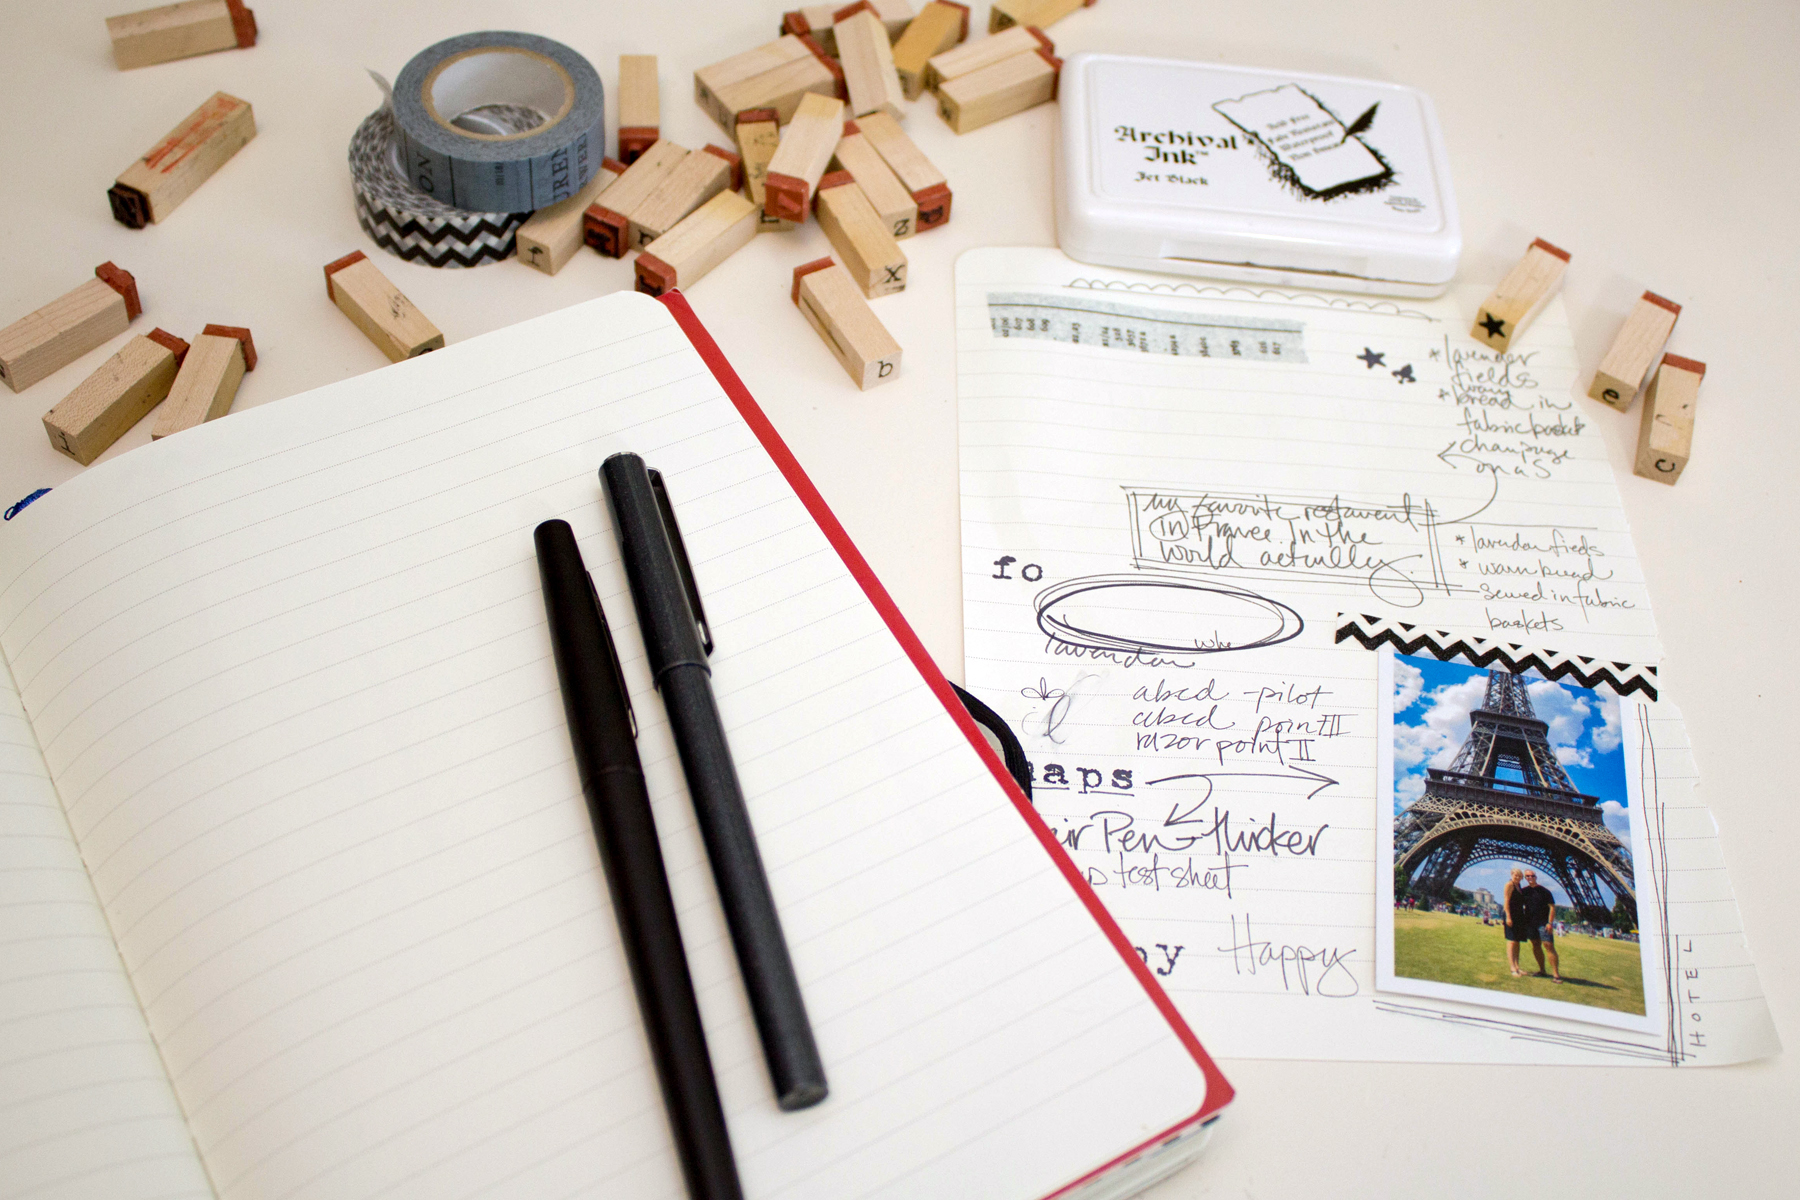
- Pens – I use a Pilot Razor Point II
- Rubber stamps
- Stamp pad by Archival Ink
- Scissors, double stick tape
- Cavallini paper clips and 7 Gypsies spiral clips
- Cavallini map of France


1. Map pocket
This is the easiest to make. Hold two adjoining sheets together and attach washi tape along the bottom and side edges.


2. Folder pocket
You’ll need a sheet from your journal to make the front of the folder pocket. If your journal is spiral bound, just pull out a page. To see if your journal is sewn together – look at the inside of the book, near the binding and lift up the center pages until you can can see the “signatures” (see photo above). The signature are the individual folded sections of a group of papers that together, make up the overall journal or book. Find the center folded seam of a signature – you will know it because you will see the stitching down the center. Cut the paper out along the fold – but DO NOT cut the threads holding the signatures together. (If I think there will be unused sheets in the journal , I’ll pull out more of these pages to allow room for the thicker maps and pockets.)
Fold a page in half then cut off about 3/4″ along one unfolded long side. Hold the pocket so the bottom and outside edges align with the next adjoining sheet. Attach washi tape along the bottom and side edges.


3. Pleated pocket
You will be cutting out a “t'” shaped piece that will be folded in half, then pleated on the sides. I think the pictures above illustrate this easier, but I’ve included written instructions as well. Pull out another page from your journal. Trace around the item on you want to make a pleated pocket for. Add about 1/8″ to the sides and top. Flip your item down, trace around it and add about 1/2″ to the sides for the side tabs. Cut out. Fold in half along bottom. Fold side tabs in toward pocket. Fold this tab in half again aligning edge with fold to make a little pleat. Use the washi tape to attach the back to the pleated sides.


4. Envelope
Find the two adjoiningg sheets where your want your envelope. Fold the top page back about 1 1/2″. Fold the back page over this fold line. Hold two adjoining sheets together and attach washi tape along the bottom and side – keeping clear of the flap. To make a self stick closure, fold back about 1/2″ of washi tape, leave 1/2″ exposed, then stick the washi tape across the middle of the flap and across the back. Add about 1″ of washi tape under the sticky portion.

Pictures
Over the course of this vacation, between our iphones, a DSLR and a point and shoot, my husband and i managed to take over 2,500 photos (yes. we did.) I was thrilled when I discovered little 2 1/8″ x 3 3/8″ photos printed by Social Print Studio. You can send an order in right from your phone and they come to your home all wrapped up in these tidy cute stacks, just like little presents. Sometimes pictures I want to use in my journals aren’t my best photos, they’re just favorites. And these pics are a cute and inexpensive way to include a bunch of them in my journal.
Finishing up
After adding the pockets, I start doodling on a warm-up sheet to test out the colors of the pens, stamp inks and tapes. This is where I discovered that cutting the washi tape in half looked better with the smaller photo’s. I also discovered that the stamp pad I was using will bleed through to the other side of the page. (I still wanted to use it because this ink is a really black, black. So, I only stamped words where the other side of the page was hidden – like on the pockets.) The warm-up sheet also helps with writer’s block – which sometimes I get staring at a blank page. My teachers in grade school called this our “sloppy copy.”
Au revoir, and have fun journaling!

